Geyser Installation is quite an easy process, but making mistakes can lead not only to Geyser damage but also to significant safety risks. We have gathered the most common geyser troubleshooting problems, and in some way root cause was more of wrong installation. In this article, we present you with common mistakes people make while installing the geyser and how to avoid them.
Try to choose the right geyser by answering simple questions without reading any Buying Guide.
Why trust this guide: This article is written by Abdul Khader, who has spent over 4 years installing and repairing geysers in Indian homes. The steps and safety points below come from what actually goes wrong on real installation jobs, not just a general manual.
Tools and Materials You’ll Need
Whether the technician brings these along or you’re getting ready to hand them over, here’s what a standard electric geyser installation needs:
- Mounting bracket and heavy-duty wall bolts, rated for the geyser’s full weight once filled with water
- Two steel-ribbed connection pipes
- One angle valve (brass)
- One connection nipple
- Teflon tape
- A 15A or 16A plug, matched to the geyser’s wattage
- A drill, spanner, and spirit level
- A bucket, to catch water during the connection
Step-by-Step Geyser Installation Process
This is roughly what a technician does during installation. Even if you’re hiring someone for the job, knowing the sequence helps you spot a rushed or incomplete installation:
- Turn off the main water supply and the electrical circuit for that point before starting any work.
- Mark the wall and drill holes for the mounting bracket, checking the spacing against the geyser’s own bracket.
- Fix the bracket with the bolts provided and confirm it’s level and secure enough to hold the geyser full of water.
- Hang the geyser on the bracket.
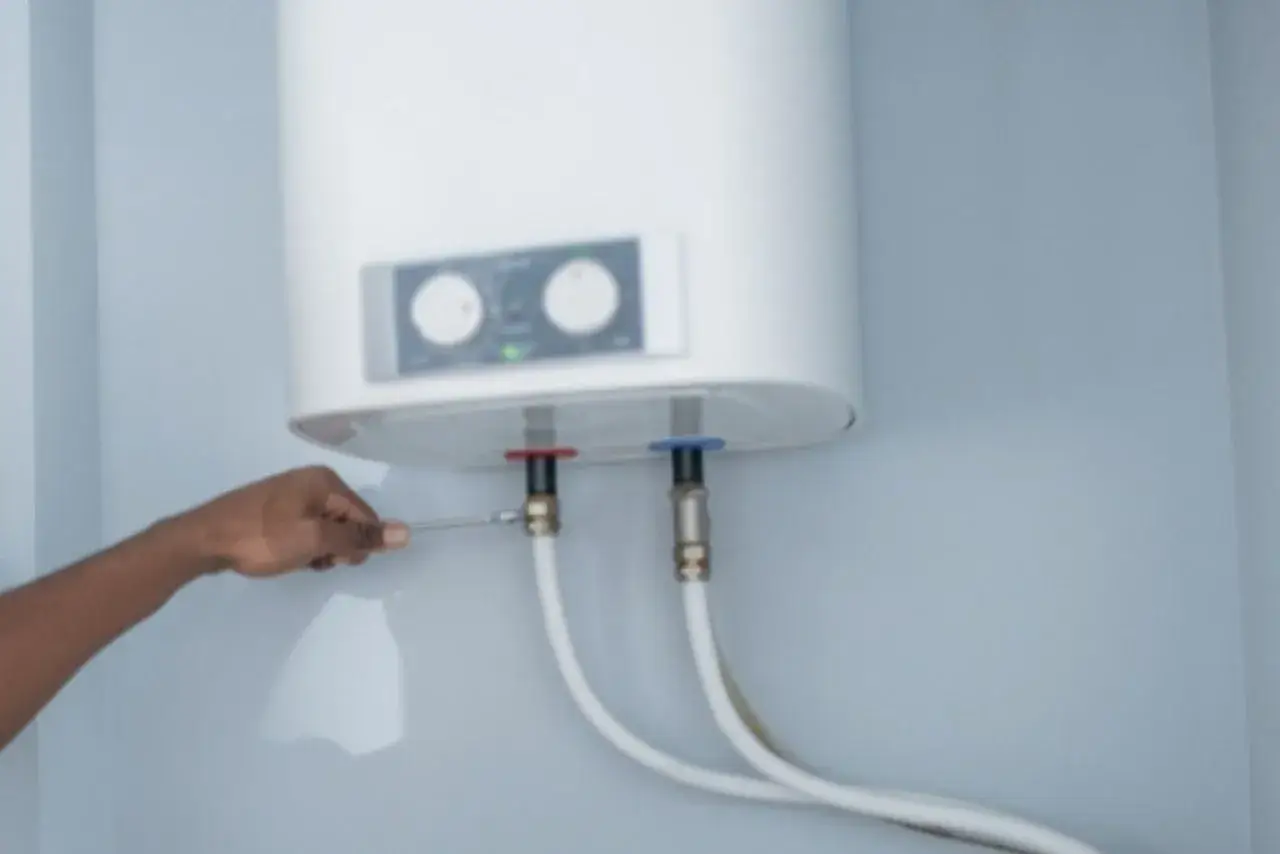
- Connect the inlet (cold water) and outlet (hot water) pipes, wrapping the threads with Teflon tape to prevent leaks.
- Fit the pressure relief valve. This is not optional and should never be removed.
- Wire the electrical connection through a dedicated MCB point with proper earthing.
- Open the water inlet and let the tank fill completely before switching on the power.
- Check every joint for leaks once the tank is full.
- Switch on the power only after you’ve confirmed there’s water in the tank and no leaks anywhere.
Never switch on a geyser before the tank is full of water. Turning on an empty tank burns out the heating element within seconds, and it’s one of the most common, and easily avoided, installation mistakes.
Check the Wall Mounting Space before You Buy the Geyser
Yes, you need to check the installation feasibility before you buy the Geyser model. All the modern homes are well equipped with an electricity inlet and water water inlet. But few bathrooms are arranged with an attic or false ceiling to optimize the space. In such cases, there won’t be sufficient space for vertical wall mounting.
You need at least 2 feet of space to install a vertical Geyser. So, before purchasing a vertical geyser, make sure you have sufficient space; otherwise, go for a horizontal geyser. You can read more about horizontal vs vertical geysers.
Avoid a Local Plumber for Installation
Install the Geyser from an Authorized service center. Many manufacturers provide the installation service. Many people make this mistake – buy online, install offline. The service center will charge you around 300 Rs – 500 Rs, including visit charges and installation charges. The local plumbers, on the contrary, charge more than that and usually do not provide proper installation.
As the manufacturing service center people have expertise in installing their own Geysers, they are well aware of the installation manual and safety, and installation guidelines. Local plumbers do not have that knowledge. Local plumbers do not read the installation manual before installation.
Once I was installing the Geyser at my home, the local plumber simply removed the safety pressure valve, saying it was useless. This resulted in water leakage in the future, and the service technician explained to me the installation mistakes.
Popular Geyser Articles
- Geyser vs Immersion Rod: Which Is Better for You?
- Geyser for High Rise Building
- Geysers for Hard Water
- Can we use Instant Geyser for Bathroom?
- Why Does a Geyser Switch Melt?
Safety is the Highest Priority
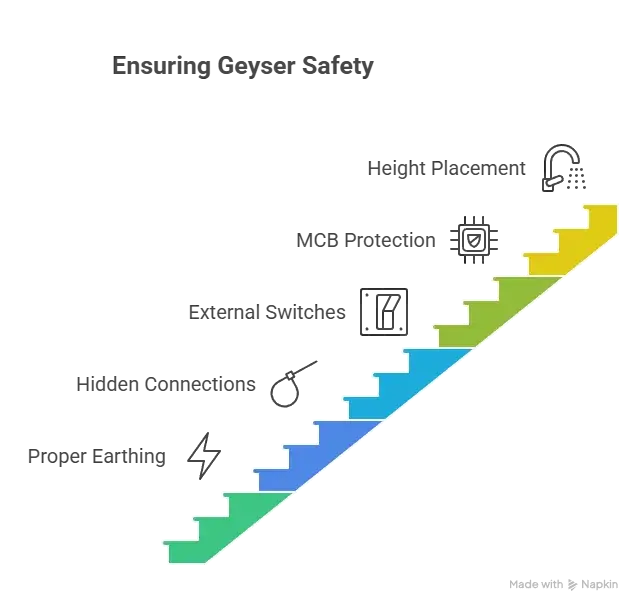
First, make sure your home is properly earthed. The Geyser electrical socket has proper earthing. The electricity connections should be behind the walls. Electricity power on off switches should be outside the bathroom. The Geyser power inlet socket should have safe MCB overload protection. The geyser should be at a sufficient height so that your head won’t hit to Geyser’s surface.
Water Pipes and Sufficient Pressure
Make sure water pipes are clog-free and unblock if there is an issue. Check water connections before installing. If you live in an independent house, then there is a case of low water pressure. In that case, consult the technician; you may need to buy a pressure pump to generate enough pressure.
Get the Installation Material
Usually, you need two steel ribbed pipes. Make sure you have one angle valve brass, one connection nipple, a 15A plug and teflon tape, and bolts, screws, and washers. Usually, service center people, while coming for installation, bring this stuff along with them, whereas local plumbers run around local shops for this.
Gas Geyser Installation: Never Install It Inside the Bathroom
This is the one rule that matters most, and it’s often ignored. A gas geyser burns LPG or natural gas to heat water, and that combustion uses up oxygen in the room. In a closed bathroom with the door shut, this can build up carbon monoxide, a gas with no smell or color, and there are documented deaths in India from exactly this, in bathrooms with a gas geyser running and no ventilation.
The correct approach, based on Indian gas-utility safety guidelines, is:
- Install the gas geyser unit itself outside the bathroom, in a kitchen, utility area, or passageway with proper ventilation. Only the hot water pipe should run into the bathroom.
- If it absolutely has to be inside the bathroom, the room needs a window or exhaust fan giving continuous cross-ventilation, and the door should never be fully sealed while it’s running.
- Choose a model with a Flame Failure Device, Overheat Protection, and an Oxygen Depletion Sensor (ODS) that shuts the unit off if oxygen levels drop.
- Never bathe with the door locked and no ventilation while a gas geyser is running.
- Get the gas connection installed by your gas provider or a certified technician, and have the tubing checked yearly since rubber gas lines age and crack.
If you’re still deciding between a gas and electric geyser, see Gas Geyser or Electric Geyser: Which is Better? and Are Gas Geysers Dangerous? for the full trade-offs and legal status.
Frequently Asked Questions
Can I install a geyser myself without a technician?
We don’t recommend it. Geyser installation involves electrical wiring, earthing, and pressure-rated plumbing fittings that need to be done correctly the first time. A poor installation is one of the most common causes of leaks, burst tanks, and melted switches down the line.
How high should a geyser be mounted?
At least 6 feet above the floor, for comfortable water pressure and so nobody hits their head on it. Leave clear space around the unit too, so a technician can service it later without dismantling half the bathroom.
What happens if I switch on a geyser with no water in it?
The heating element burns out almost immediately, since it has nothing to transfer heat into. This is one of the most common, and completely avoidable, mistakes during a fresh installation. Always fill the tank fully before the first power-on.
Does installation cost depend on the brand?
Not much. Authorized service center installation typically runs ₹300 to ₹500 including the visit charge, regardless of brand, since the process is largely the same across manufacturers.